

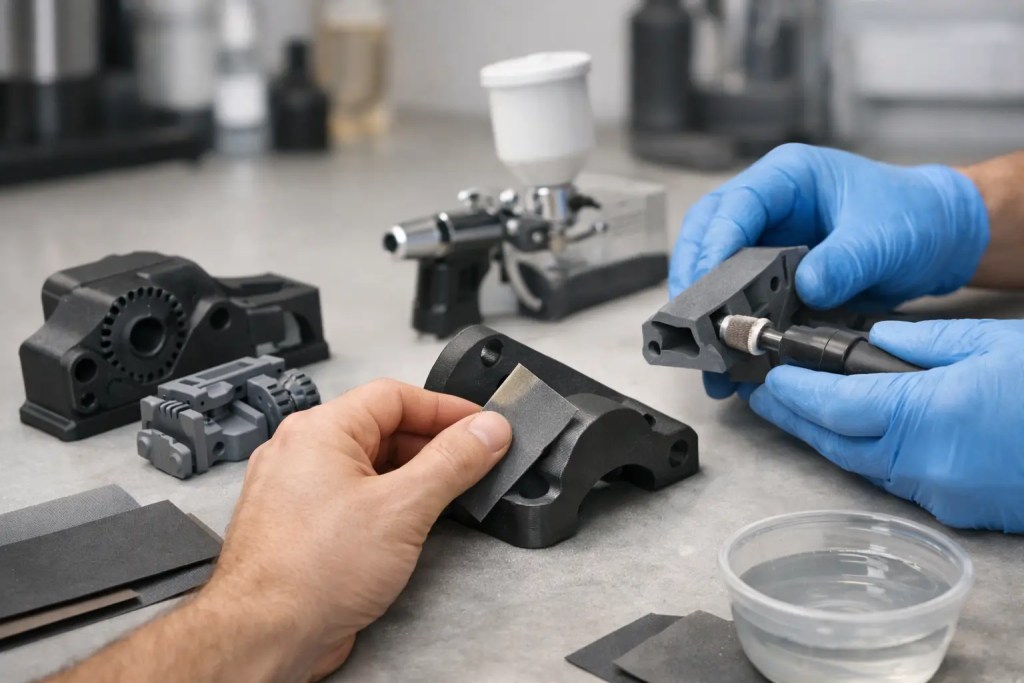
A printed part is only production-ready when its surface, dimensions, and functional interfaces meet the application requirements. Knowing how to finish printed parts starts with the intended use: a fit-check prototype needs different treatment than a customer-facing enclosure, a fluid-handling component, or a metal fixture operating under load.
Finishing should not be treated as a cosmetic step added after manufacturing. It is a controlled secondary process that can improve surface appearance, reduce roughness, protect material, add markings, and tighten critical interfaces. It can also introduce risk if it removes too much material, rounds edges, blocks holes, or applies a coating that changes fit. The correct route depends on the printing technology, material, geometry, tolerance callouts, and production volume.
Start With the Functional Requirement
Before selecting a finish, define what the finished part must do. Engineers should identify which surfaces are cosmetic, which surfaces mate with other components, and which features are dimensionally critical. A PA12 MJF housing may need a uniform black color and readable markings, while an SLS nylon bracket may only require bead blasting to remove residual powder. An SLA display model may need sanding and painting for a smooth visual surface, but that same workflow is rarely appropriate for a tight-tolerance snap fit.
Surface specification should be included in the CAD review and quotation stage, not left to a final email after parts are built. Call out masked surfaces, critical holes, threads, datum faces, logo locations, color requirements, and acceptable cosmetic standards. If a surface will be machined after printing, provide the required final dimension and confirm that adequate machining allowance is present.
For end-use parts, also consider the operating environment. Nylon can benefit from dyeing, sealing, or coating when appearance and cleanability matter. Aluminum and stainless steel components may require machining, polishing, passivation, or bead blasting depending on corrosion resistance, fatigue performance, and assembly requirements. The finish is part of the material and process selection, not a substitute for it.
Match the Finish to the Printing Process
Each additive process produces a different starting surface. A finishing method that works well on one process may be inefficient or damaging on another.
MJF and SLS polymer parts
MJF and SLS parts in PA12 or PA11 have a fine, matte texture after depowdering. Bead blasting is commonly used to clean the surface and create a consistent appearance without substantially altering dimensions. For functional prototypes, jigs, fixtures, and low-volume production parts, this may be all that is required.
Dyeing can provide a more uniform color, particularly black, while retaining much of the underlying texture. Coatings can further improve appearance or provide a more sealed surface, but they add thickness. This matters on press fits, sliding features, and threaded interfaces. When tolerances are tight, specify whether these areas must be masked or finished by machining instead.
Vapor smoothing is another option for compatible polymer parts where lower surface roughness and improved cleanability are required. It can reduce the texture associated with powder-bed printing, but the process must be controlled around thin walls, sharp details, and sealing faces. The benefit is a smoother, more closed surface; the trade-off is that feature definition and dimensions can change slightly.
SLA resin parts
SLA produces fine detail and a relatively smooth surface, but support contact points and layer orientation remain visible. The standard workflow includes washing, UV curing, support removal, and controlled sanding at contact points. For cosmetic models, progressive sanding followed by primer and paint can produce a high-quality display finish.
For engineering applications, confirm that the resin itself meets the mechanical and environmental requirement before investing in cosmetic finishing. Standard resins are useful for visual and fit-check models, while tough, high-temperature, and specialty resins serve different functional needs. Paint does not make a brittle resin suitable for impact loading, and a glossy coating does not correct poor material selection.
FDM parts
FDM parts often show visible layer lines, especially on curved or angled surfaces. Sanding, filling, priming, and painting can improve appearance, but these operations are labor-intensive and less predictable on complex geometry. Orienting the part correctly during the build is usually the first and most cost-effective finishing decision.
For functional FDM parts, remove support material carefully and machine only where needed. Excessive sanding can weaken thin walls or alter fit features. If the application needs a consistently smooth exterior across multiple units, consider whether SLA, MJF, or injection molding is a better production route.
Metal SLM parts
Metal SLM components in AlSi10Mg, SS316L, and other alloys typically require post-processing beyond support removal. Powder removal, stress relief, heat treatment where specified, support removal, machining, blasting, and inspection may all be part of the manufacturing plan.
Critical interfaces such as bores, threads, sealing faces, bearing seats, and mounting datums are commonly machined to final size. Printed metal is valuable for complex internal passages, consolidated assemblies, and weight-optimized structures, but it should not be assumed that every printed surface will meet a conventional machining tolerance or surface finish requirement. Define where additive manufacturing creates value and where subtractive finishing must take over.
Use Sanding and Blasting With Dimensional Control
Manual sanding is effective for localized defects, support marks, and cosmetic preparation. It is not an ideal method for preserving precise geometry across a production batch. Use it on non-critical faces where a smoother feel or paint-ready surface is needed, and keep it away from thin ribs, edges, mating surfaces, and small features unless material removal is accounted for.
Blasting is generally more repeatable for broad surfaces. Media choice and pressure must suit the material: polymer parts require a gentler approach than metal parts, and aggressive blasting can erode edges or leave an undesirable texture. Blasting also does not replace proper powder removal. Internal cavities, channels, and blind features must be designed for effective depowdering and verified before the finishing stage.
When surface texture affects function, specify the requirement in measurable terms where possible. A vague request for a “smooth finish” invites inconsistent interpretation. Define whether the goal is visual uniformity, reduced friction, easier cleaning, paint adhesion, or a specific roughness target.
Add Coatings Only Where They Solve a Real Problem
Paint, powder coating, clear coating, and chemical treatments can improve color consistency, corrosion resistance, cleanability, and brand presentation. They also affect dimensions, especially in holes, slots, threads, and press-fit zones. Coating thickness may be minor on a large external housing but significant on a small connector or precision assembly.
Plan masking before production begins. Identify faces that must remain uncoated, including grounding points, sealing surfaces, locating pins, threaded holes, and tight mating areas. If a part needs a particular color or gloss level, submit a defined color standard and clarify whether minor variation between batches is acceptable.
For polymer production parts, dyeing may be preferable to painting when the objective is uniform color without a thick surface layer. For metal parts exposed to moisture, chemicals, or wear, material selection and the appropriate treatment must be considered together. A finish can extend service life, but it cannot compensate for an unsuitable alloy or geometry.
Machine Critical Features After Printing
Post-machining is often the most reliable way to bring critical printed features to final tolerance. This applies to flat mounting faces, bores, threads, counterbores, sealing lands, and datum surfaces. It is particularly relevant for metal SLM parts, but polymer additive parts can also benefit from machining when assemblies require repeatable fit.
Design for the operation. Provide tool access, stable clamping surfaces, and sufficient stock on features that will be machined. Avoid placing high-precision requirements on inaccessible internal surfaces unless the selected process can meet them. Threaded holes may be printed undersize and tapped afterward, or designed for threaded inserts, depending on material, load case, and assembly frequency.
A hybrid additive and CNC workflow is often more efficient than forcing either process to do all the work. Additive manufacturing produces complex geometry quickly; machining establishes high-precision interfaces where they matter.
Inspect the Finished, Not Just the Printed, Part
Inspection must reflect the final condition after blasting, dyeing, coating, curing, and machining. A part that passes measurement immediately after printing may no longer meet requirements after secondary operations. Establish final inspection points around critical dimensions, visual acceptance criteria, thread quality, color consistency, and any required documentation.
For repeat orders, use a controlled finishing specification with the same media, masking approach, coating system, and inspection method. This is where an ISO 9001:2015 quality system matters: repeatability depends on documented workflows, traceable process control, and clear acceptance standards rather than individual operator judgment.
At Additive3D Asia, finishing can be planned alongside polymer and metal additive manufacturing, CNC machining, and other production processes so that the part is quoted and built around its final requirements. The objective is not to apply every available finish. It is to use the minimum number of controlled operations needed to deliver the required fit, function, appearance, and turnaround.
The best finishing decision is usually made before the first layer is printed. Specify the surfaces that matter, protect the dimensions that control assembly, and let the application determine how far the finish needs to go.