

A prototype that performs well in the lab can still fail the moment it meets production constraints. The gap is rarely about design intent alone. It usually comes down to whether the prototype to production roadmap accounted for process limits, material behavior, quality controls, and purchasing realities early enough.
For engineering teams, that roadmap is not a presentation slide. It is an operational plan that connects design validation to manufacturing readiness. If that plan is weak, teams end up reworking CAD, changing materials late, missing tolerance targets, or moving suppliers mid-project. If it is built correctly, the same roadmap shortens iteration cycles and makes scale-up far more predictable.
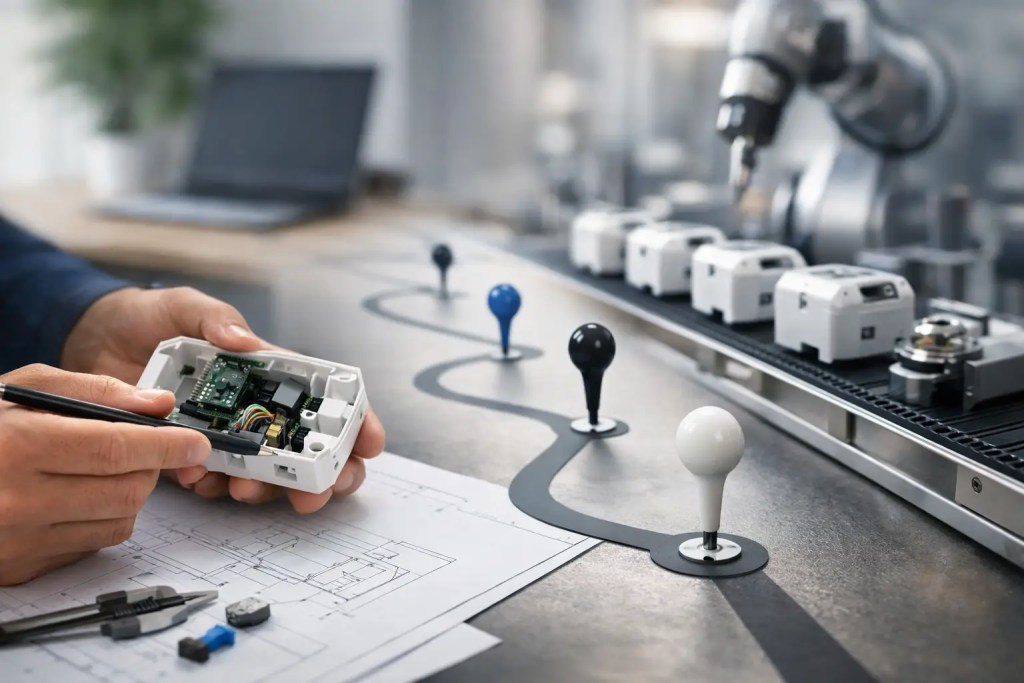
What a prototype to production roadmap actually needs to do
A useful roadmap does more than mark phases such as concept, prototype, pilot, and production. It defines what must be proven at each stage before moving forward. That includes part function, fit, cosmetic requirements, tolerance strategy, material selection, inspection criteria, and the process that can support the next volume tier.
This matters because the best prototyping process is not always the best production process. SLA may be ideal when you need fine detail and visual presentation. SLS or HP Multi Jet Fusion may be better for functional polymer prototypes and short-run production. CNC machining may be the right bridge when tight tolerances dominate. Injection molding may become necessary once volumes justify tooling. A roadmap has to anticipate these transitions instead of reacting to them late.
The strongest plans also account for lead time and procurement friction. A design that works only with a niche material, a difficult post-process, or an unstable supply path may create avoidable risk. Production readiness is as much about repeatability and sourcing as it is about geometry.
Start with the production target, not just the first prototype
Teams often move too quickly into prototype fabrication without defining the final use case in enough detail. That is where delays begin. Before the first build, clarify the expected annual volume, target unit economics, operating environment, critical dimensions, compliance needs, and acceptable cosmetic variation.
A housing for internal testing and a housing for end-use field deployment are two different manufacturing problems, even if the CAD model starts the same. A bracket that survives one bench test does not automatically qualify for vibration, thermal cycling, or long-term load. When those requirements are defined up front, the early prototype phase becomes more useful because every iteration is measured against an eventual production outcome.
This is also where process flexibility matters. If you know a part may begin in additive manufacturing and later shift to molding or machining, the geometry should be reviewed with that transition in mind. Sharp undercuts, wall thickness extremes, unsupported spans, and cosmetic surfaces all deserve attention before they become expensive to correct.
Phase 1: Prototype for learning, not just speed
Early prototypes should answer specific engineering questions. That may be form and fit, assembly validation, airflow behavior, ergonomic feedback, or proof of mechanism. The process should match the question.
For appearance models, SLA often provides the surface quality and detail needed for stakeholder review. For functional polymer parts, SLS and HP Multi Jet Fusion are usually stronger candidates because they better represent real-world performance and support more durable testing. For metal concepts, SLM can validate geometry and function where additive complexity matters, while CNC may remain better for highly critical machined interfaces.
The trade-off in this phase is simple. Faster and cheaper prototypes reduce early risk, but only if they are honest about what they can prove. A visually accurate part made from the wrong material can create false confidence. An engineering-grade material with the wrong tolerance stack can do the same. The goal is not to make the first part look finished. It is to remove uncertainty in the right order.
Phase 2: Move from prototype to pre-production evidence
Once the design direction is stable, the roadmap should shift from exploration to repeatability. This is where many teams underestimate the work required. A design may be functionally correct and still not be ready for controlled output.
At this stage, review tolerances feature by feature rather than applying a blanket requirement across the whole part. Tight tolerances increase cost and can force a process change, so they should be reserved for dimensions that truly matter. Surface finish requirements should also be separated into cosmetic and functional zones. That distinction opens more manufacturing options and avoids overprocessing.
Material selection should now become production-specific. If the target application requires chemical resistance, flame performance, wear resistance, or elevated temperature stability, the selected material must be evaluated on those terms rather than general strength alone. PA12, PA11, AlSi10Mg, and SS316L each serve different performance needs, and there is no single best choice outside the application context.
Inspection planning should begin here as well. Teams should define which dimensions are critical to quality, what sampling method will be used, and what documentation will be required for release. This is where an ISO 9001:2015-controlled workflow adds real value. Repeatability is not only about machine capability. It is about documented process control, revision traceability, and consistent inspection standards.
Choosing when to stay additive and when to switch
A good prototype to production roadmap does not assume additive manufacturing is only for prototyping. In many industrial cases, it remains the right production method for low-volume end-use parts, jigs, fixtures, spares, and customized components.
The decision depends on volume, geometry, tolerance, finish, and cost structure. Additive manufacturing tends to make sense when complexity is high, tooling avoidance is valuable, and volumes are moderate. It also works well when design iteration is still active or demand is variable. Injection molding becomes more attractive when volumes are stable enough to absorb tooling cost and cycle time advantages matter. CNC machining is often the better choice for parts with highly controlled dimensions, specific material stock requirements, or machined sealing and mating surfaces.
The mistake is forcing a switch too early or too late. Switch too early and you may invest in tooling before the design is stable. Switch too late and your unit economics may suffer. The right timing comes from tracking actual demand, not optimistic forecasts alone.
Build quality controls into the roadmap early
Quality problems are easier to prevent than to inspect out later. That is why production planning should include quality checkpoints before the first pilot build. CAD revisions must be locked and traceable. Material callouts must be specific. Acceptance criteria must be written clearly enough that engineering, procurement, and manufacturing are reading the same document.
Post-processing should also be treated as part of the manufacturing plan, not as a finishing step to decide later. Surface smoothing, bead blasting, dyeing, machining, inserts, heat treatment, and coating can all affect dimensions, appearance, and lead time. If a part is only acceptable after post-processing, then the process capability must be evaluated with that full workflow included.
For assemblies, the roadmap should validate stack-up behavior, fastening method, and serviceability before launch. Production issues often come from secondary operations rather than the printed or machined component itself.
The supplier model affects the roadmap more than teams expect
Fragmented sourcing slows scale-up. If prototyping happens with one vendor, short-run production with another, machining elsewhere, and finishing at a fourth supplier, communication gaps become part of the risk profile. Files are transferred repeatedly, quality standards vary, and design intent can get diluted at every handoff.
That is why many teams prefer a manufacturing partner that can support multiple processes under one quality system. A supplier with additive, machining, molding, casting, sheet metal, and post-processing capability can recommend the right path based on the part rather than forcing the part into one process. For companies managing compressed timelines, that flexibility reduces changeover delays and simplifies procurement.
At Additive3D Asia, this model is built around a one-stop workflow from CAD upload to quoting, manufacturability review, production, and global shipment. The practical benefit is not convenience alone. It is fewer transition points between prototype and production.
Treat pilot builds as a decision gate
Pilot production should not be used to hope everything works at scale. It should be used to prove that the manufacturing plan is stable enough to release. That means confirming yield, inspection performance, finishing consistency, packaging suitability, and realistic turnaround.
If issues appear here, that is useful data, not failure. A pilot run may reveal orientation-related variation in additive parts, handling damage during finishing, fixture weakness during machining, or assembly friction from cumulative tolerances. These are exactly the problems the roadmap is supposed to expose before volume increases.
The teams that move efficiently are the ones that decide in advance what a successful pilot run looks like. They define pass criteria, document deviations, and make process changes in a controlled way.
A strong prototype to production roadmap is not about moving fast at any cost. It is about reducing the number of surprises between the first concept model and the first repeatable shipment. When each phase proves something specific, scale becomes a planned step rather than a risky leap. That is what turns a promising part into a dependable product.