

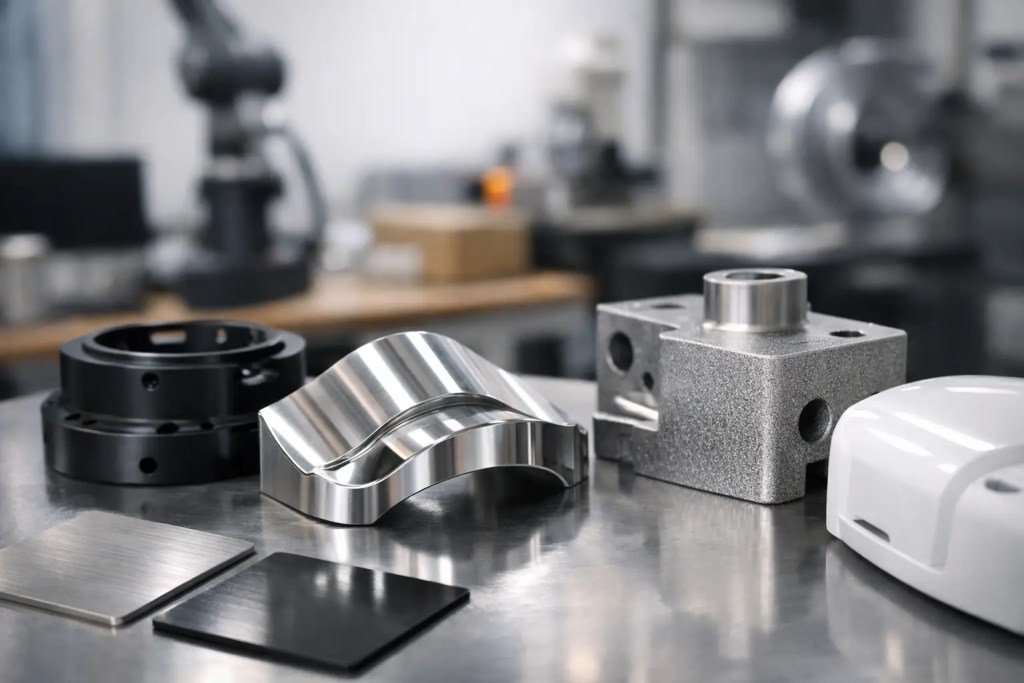
A part can meet every dimensional requirement and still fail the product review. Visible layer lines, inconsistent gloss, sharp edges, or an uneven coating can make a functional prototype look unfinished and cause a production part to feel low value. Surface finishing for production aesthetics is therefore not a cosmetic afterthought. It is a controlled manufacturing decision that affects perception, durability, handling, and consistency across every unit.
For engineers and product teams, the right finish begins with the intended use of the part. A handheld medical device enclosure, a PA12 production fixture, an AlSi10Mg electronics housing, and an SS316L component exposed to chemicals require different finishing priorities. Appearance matters, but it must be balanced against dimensional tolerance, material behavior, lead time, and cost.
Define the visual and functional target first
“Smooth” is not a complete finishing specification. A matte black polymer surface, a satin-machined aluminum face, and a mirror-polished stainless steel component may all be described as smooth, yet each requires a different process route and level of process control.
Start by defining what the user will see and touch. Specify the required color, gloss level, texture, edge condition, and any visible cosmetic zones. Then identify functional demands: abrasion resistance, chemical exposure, UV stability, electrical insulation, corrosion resistance, or cleanability. This prevents a common production mistake – selecting a finish after the geometry and manufacturing method are already fixed.
The viewing distance also matters. A part inspected at arm’s length in a consumer product needs tighter cosmetic control than an internal machine bracket. Conversely, a visible surface may not need a high-gloss coating if a fine bead-blasted matte finish better hides fingerprints and minor handling marks.
Match the finishing process to the base manufacturing method
The starting surface determines what can be achieved efficiently. Additive manufacturing, CNC machining, casting, and sheet metal fabrication each produce different surface characteristics. Finishing should correct or control those characteristics, not work against them.
Additive polymer parts
HP Multi Jet Fusion and SLS parts in PA12 or PA11 typically have a fine, slightly granular surface after powder removal. They are well suited to bead blasting, dyeing, vapor smoothing, painting, and protective coating. Dyeing is efficient for consistent dark colors because the color penetrates the polymer rather than sitting only on the outer surface. However, it does not conceal every print artifact or produce the reflective appearance of a painted part.
Vapor smoothing can reduce roughness and create a more sealed, easy-to-clean surface. It is useful for fluid-contact components, enclosures, and end-use polymer parts where a refined feel is required. The trade-off is dimensional change at fine features and edges, so tolerance-critical areas should be evaluated before the process is approved for a production run.
SLA parts can deliver high detail and a relatively smooth printed surface, making them suitable for cosmetic prototypes and master patterns. Painting can produce excellent visual results, but resin selection, cure state, and coating compatibility must be controlled. For repeated end-use applications, teams should also assess UV exposure, impact performance, and long-term coating adhesion.
FDM parts generally show more pronounced layer lines. Sanding, filling, priming, and painting can improve appearance substantially, but these labor-intensive steps increase cost and introduce part-to-part variation. When a polished production aesthetic is the primary requirement, another additive process or a conventional manufacturing method may be more economical.
Metal additive parts and machined components
Metal SLM parts in AlSi10Mg or SS316L often require post-processing to address support contact points, powder adhesion, and the as-built surface texture. Bead blasting provides a uniform matte appearance and can prepare surfaces for subsequent coating. Machining is the preferred option for precision datum surfaces, threaded features, sealing faces, and visible areas that need controlled flatness or a defined surface texture.
For aluminum components, anodizing improves corrosion resistance while offering clear, black, and selected colored finishes. The result can be highly repeatable, but alloy composition, machining marks, and local geometry influence color uniformity. Anodizing also changes surface dimensions slightly, which matters for close-fitting assemblies.
Stainless steel may be brushed, bead blasted, electropolished, or passivated depending on the application. Electropolishing can improve cleanability and corrosion performance while reducing micro-scale surface irregularities. It is not the right choice for every geometry, especially where a uniform cosmetic appearance across deep recesses is difficult to control.
Cast and sheet metal parts
Vacuum or urethane casting can produce low-volume parts with surfaces that closely replicate the master pattern. The mold finish is critical: every texture, scratch, and polish level transfers to the cast part. This makes the process effective for short-run housings and product-validation units, provided the master is finished to the required standard.
Sheet metal parts are commonly deburred, brushed, bead blasted, powder coated, painted, or anodized. Powder coating offers durable coverage and broad color options, but it builds film thickness and can soften crisp edges. Masking may be required for threads, grounding points, press-fit interfaces, or surfaces with strict assembly tolerances.
Specify cosmetic zones and acceptance criteria
A single part does not need the same finish everywhere. Assigning cosmetic zones makes requirements clearer and controls unnecessary cost. A visible front face may require a consistent satin texture, while internal ribs, mounting flanges, and hidden faces can retain a standard as-manufactured finish.
Production-ready documentation should identify the finish by process, color standard, gloss target where relevant, and cosmetic classification. It should also state what is acceptable. Minor witness marks, racking points, support removal marks, and slight color variation may be unavoidable depending on the process. Defining acceptable limits upfront helps avoid subjective inspection decisions after parts have been produced.
For coated or painted parts, include the required coating thickness if it affects fit. For textured finishes, provide a reference sample or measurable surface requirement where practical. Photos can help communicate intent, but they should support rather than replace a written specification.
Consider the effect on tolerances and assembly
Every finishing step can change a part. Sanding removes material. Coatings add material. Tumbling rounds edges. Vapor smoothing can alter fine features. Anodizing grows an oxide layer. These changes are often small, but small changes matter in snap fits, gasket grooves, bearing seats, threaded holes, and mating surfaces.
The practical approach is to protect critical features through design and process planning. Leave sealing faces or bore diameters for final machining where needed. Mask threads before powder coating or painting. Use tolerance allowances for anodized parts. If a textured or coated finish will be applied to a snap-fit enclosure, test the assembled condition rather than evaluating each component in isolation.
This is also where process selection affects lead time. A part that requires machining, blasting, masking, coating, curing, and final inspection has more handoffs than an as-printed component. The added operations may be justified for customer-facing hardware, but they should be planned early rather than introduced during final validation.
Build repeatability into the production plan
A visually successful first article is not enough. Production aesthetics depend on repeatable material preparation, equipment settings, handling, curing, and inspection. Differences in bead-blast media condition, dye bath loading, paint application, or oven temperature can create visible variation between batches.
An ISO 9001:2015-controlled workflow supports this discipline by documenting the approved process route and checking output against defined requirements. At Additive3D Asia, finishing can be coordinated with polymer and metal additive manufacturing, CNC machining, casting, and sheet metal production so teams can manage the part as one controlled manufacturing package rather than as a series of disconnected vendor transactions.
For higher-volume or customer-facing programs, approve a finish standard before full production. Retain a signed sample, record the material and process parameters, and use the same inspection lighting and viewing conditions for future lots. This is especially useful for black finishes, metallic coatings, and matte surfaces, where small changes can be immediately visible.
Choose the finish that supports the product, not just the render
The best surface finish is rarely the most elaborate one. It is the finish that achieves the required appearance while protecting function, maintaining tolerances, and fitting the production schedule. A dyed and vapor-smoothed PA12 enclosure may outperform a heavily painted prototype when durability and repeatability matter. A bead-blasted and anodized aluminum part may be a better production choice than a polished surface that shows every fingerprint.
Treat the finish as part of the engineering specification from the first CAD review. When geometry, material, manufacturing process, and post-processing are aligned early, the result is not merely a better-looking part. It is a part that arrives ready for assembly, inspection, and the expectations of the customer who will handle it.