

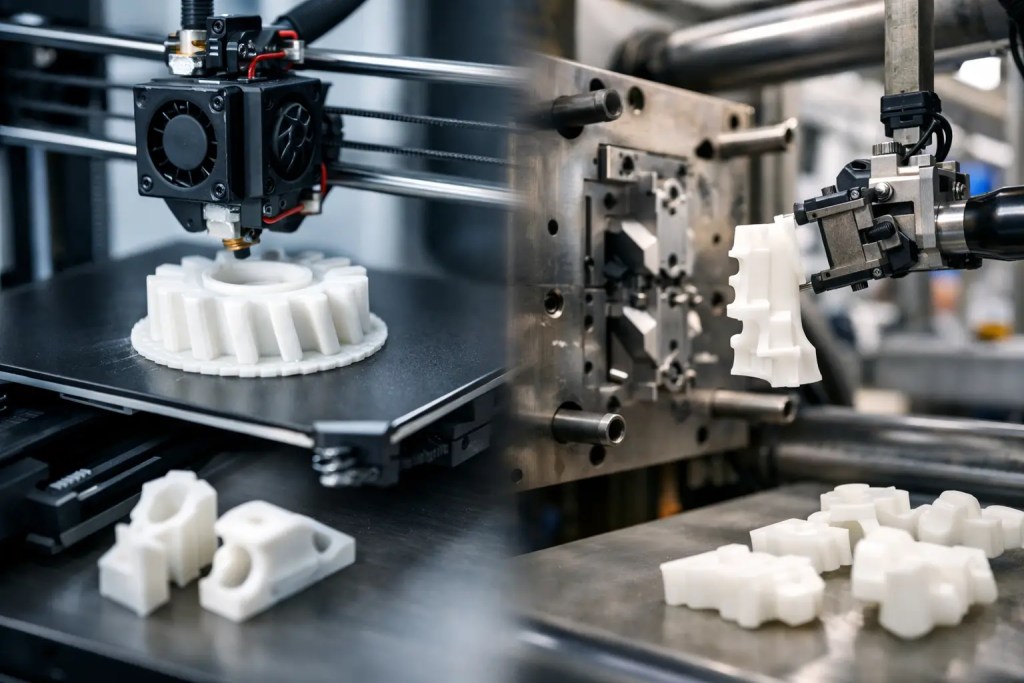
A molded housing may cost less than a printed one on a per-part basis, yet still be the more expensive decision for an early production run. The answer to when does 3d printing become cheaper than injection molding? is not a fixed quantity. It is the point at which mold tooling, setup, lead time, engineering changes, and unit costs are evaluated together rather than in isolation.
For engineers and procurement teams, the useful question is: what process delivers approved parts at the lowest total project cost, at the required quality level, on the required date? A cost comparison that omits even one of those conditions can lead to the wrong process selection.
The break-even point is a total-cost calculation
Injection molding has a high fixed cost and a low variable cost. A production mold must be designed, machined, assembled, sampled, and validated before the first acceptable part ships. Once that work is complete, molded parts can be produced quickly and economically, especially when geometry, material, and finish are stable.
3D printing reverses that profile. It generally requires no dedicated tooling, so fixed costs are low. Each part carries a higher manufacturing cost because it consumes machine capacity, material, and post-processing time. This makes additive manufacturing particularly effective when the design is still moving, quantities are limited, or time to part has commercial value.
A simple comparison uses these equations:
Injection molding total cost = tooling + setup + (molded unit cost x quantity)
3D printing total cost = additive setup + (printed unit cost x quantity)
The nominal break-even quantity is where those totals meet. If a mold costs $20,000, a molded part costs $2.50, and an equivalent printed part costs $25, the tooling cost is recovered at roughly 889 parts, before considering setup charges. But that figure is only a starting point. It does not account for design revisions, expedited tooling, qualification requirements, inventory exposure, or the cost of waiting weeks for first articles.
When does 3D printing become cheaper than injection molding?
3D printing is commonly the lower-cost route for prototypes, low-volume production, bridge manufacturing, custom components, and parts likely to change after testing. In many projects, that range extends from one part to several hundred parts. For complex parts or expensive tooling, the economic advantage can continue well beyond that point.
The exact crossover depends on five operating variables: tool cost, additive unit cost, molded unit cost, design stability, and required lead time. Geometry and material selection influence every one of them.
A simple, open part with no undercuts may use a relatively affordable aluminum mold and favor injection molding sooner. A part with slides, lifters, tight tolerances, cosmetic surfaces, or demanding engineering resin requirements may need more expensive tooling. Its additive-to-molding break-even quantity will be higher.
Similarly, a printed PA12 component produced by Multi Jet Fusion or SLS may be economical at quantities where a hand-finished SLA part is not. Process selection matters as much as the choice between additive and molding.
Tooling cost changes the equation fastest
Tooling is the primary reason injection molding is rarely the default for early-stage quantities. Soft tooling, rapid tooling, and aluminum molds can reduce up-front cost, but they still require a commitment to part geometry and material. Hardened steel tooling requires a larger investment but supports long production life and demanding materials.
Tool complexity is not limited to the mold base. Undercuts may need side actions. Threads may require inserts. Surface texture and high-gloss cosmetics increase finishing requirements. Thin walls, challenging flow paths, and strict dimensional requirements can add development cycles. Each decision can increase tool cost or create risk during sampling.
With additive manufacturing, complexity often has a smaller effect on cost. Internal channels, lattice structures, integrated features, and consolidated assemblies may be printed without the same tooling penalty. That does not mean every complex part should be printed. It means complex geometry deserves a fresh cost model rather than an automatic assumption that molding will be cheaper.
Design changes can erase molding savings
A mold is a capital commitment to a specific design. Minor changes may be manageable through insert revisions. Larger changes can require rework, new inserts, or a replacement tool. If functional testing is still underway, that exposure can outweigh the lower molded unit cost.
This is where 3D printing supports better production decisions. Teams can manufacture functional prototypes, test fit and assembly, validate user interaction, and conduct limited market or field trials before freezing the design. A short additive run also supplies parts while production tooling is being built, reducing the gap between product validation and launch.
For a medical device enclosure, industrial sensor bracket, or electronics fixture, a bridge run can prevent schedule pressure from forcing an immature design into tooling. The financial value is not just avoided mold rework. It is the ability to resolve issues using production-intent parts before the highest-cost decision is made.
Lead time has a measurable cost
A per-part quote does not show the full cost of delay. Tooling may take several weeks or longer depending on mold complexity, material, supplier capacity, and sampling requirements. Additive parts can often be manufactured in days once the CAD file is approved.
That lead-time advantage is material when an engineering team needs test parts before a design review, when a production line needs a replacement fixture, or when a product launch depends on pre-production units. Delayed validation can hold up procurement, compliance work, assembly planning, and customer trials.
Lead time should not be treated as an abstract benefit. Assign a project value to it. If receiving 100 parts three weeks earlier allows qualification work to proceed, reduces downtime, or avoids an expedited logistics cost, additive manufacturing may remain the less expensive route even after its unit price exceeds the molded unit price.
Material, tolerance, and finish must be comparable
Cost comparisons fail when the parts being compared are not truly equivalent. A low-cost printed resin prototype is not a direct substitute for a glass-filled nylon molded part. Likewise, a printed part may need machining, dyeing, sealing, vapor smoothing, bead blasting, or threaded inserts to meet its application requirements.
Define the production requirement before comparing quotes: material grade, mechanical properties, temperature resistance, chemical exposure, tolerance-critical features, surface finish, color, and inspection needs. Then select the process that can meet those requirements consistently.
For polymer applications, PA12 and PA11 are commonly evaluated for durable functional parts and short-run production. For high-detail visual models, SLA may be appropriate, although the resin and post-cure behavior must suit the end use. For metal components, AlSi10Mg or SS316L produced by SLM can support applications that cannot be served by polymer molding at all. In those cases, the decision is not simply printing versus injection molding. It is a manufacturing and performance decision.
Dimensional strategy also matters. Injection molding introduces shrinkage, part-to-part variation, and tool compensation. 3D printing has its own process-specific tolerances, orientation effects, and finishing allowances. Critical interfaces may require CNC machining after printing or molding. Include that secondary work in both cost models.
Use volume bands instead of a single cutoff number
Rather than treating the decision as a single break-even quantity, use practical volume bands. For one to 50 parts, 3D printing is typically the logical baseline because tooling cannot be justified unless the part is exceptionally simple or a mold already exists. From roughly 50 to several hundred parts, evaluate additive production, urethane casting, and rapid tooling based on material needs, appearance, and delivery schedule.
From several hundred to a few thousand parts, the choice becomes highly dependent on geometry, post-processing, and how stable the design is. Injection molding may offer a lower total cost, but additive manufacturing can still win for multiple variants, on-demand replenishment, or complex low-volume assemblies. At sustained high volumes with a frozen design, injection molding usually becomes the stronger economic choice because unit costs fall substantially.
These are decision bands, not rules. A part with a $50,000 tool may favor additive at 1,000 units. A simple cap with a low-cost tool may favor molding much earlier.
Build a quote package that produces a reliable answer
A useful manufacturing quote begins with an accurate CAD file, preferably STEP for geometry review, along with an expected annual volume and initial order quantity. State the required material, cosmetic standard, critical dimensions, inspection expectations, and delivery date. If the part is likely to change, say so directly.
Ask for both an additive and molding path when the volume is uncertain. The best manufacturing partner will identify draft requirements, wall-thickness concerns, undercuts, tolerance risks, and post-processing needs before production begins. It should also explain whether a bridge run, urethane casting, or staged tooling plan better matches the project.
Additive3D Asia can evaluate these options across additive and conventional processes under an ISO 9001:2015 quality system, allowing teams to compare routes using the same part requirements rather than fragmented supplier assumptions.
The most cost-effective process is the one that protects the project from expensive surprises. Start with the quantity you need now, validate the design under real operating conditions, and commit to tooling when the part, demand, and quality requirements are stable enough to reward that investment.