

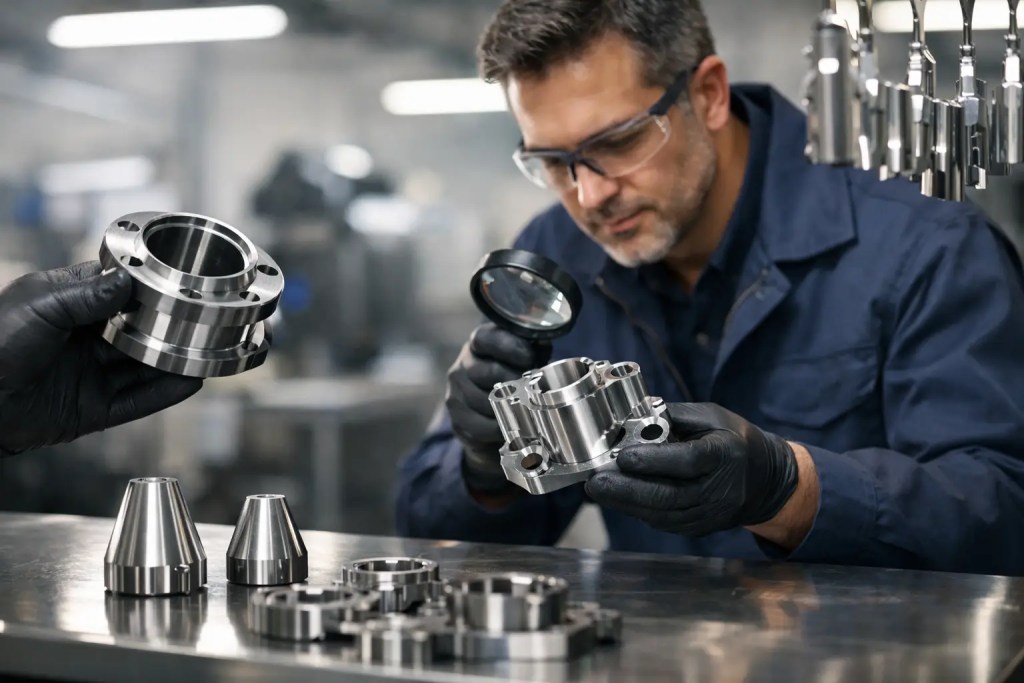
A guide to production grade finishing starts before a part enters a finishing station. The specified surface, coating, color, texture, and inspection criteria affect material selection, print orientation, support strategy, machining allowances, lead time, and cost. When those decisions are deferred until after manufacturing, teams often receive parts that look acceptable but fail at fit, wear, sealing, or customer-facing appearance.
Production-grade finishing is not one universal treatment. It is a controlled sequence that brings a manufactured part to its required functional and visual condition, with repeatable results across a batch. For engineers moving from prototype builds to short-run production, the objective is to define what the surface must do, then select a process capable of delivering it consistently.
Define the functional requirement before the finish
A finish specification should begin with the part’s job, not a cosmetic reference image. A housing may need a uniform black appearance, but it may also require UV resistance, scratch resistance, readable laser marking, and a sealing surface around a gasket. A fixture may not need color at all, yet it may require deburring to protect operators and prevent damage to assembled components.
Start by separating critical surfaces from noncritical surfaces. Identify mating faces, bearing locations, threaded features, gasket lands, optical areas, contact points, and customer-visible faces. Each can have a different finishing requirement. Applying a high-cost cosmetic finish to every surface is rarely necessary, while leaving an interface untreated can create an avoidable assembly problem.
Surface roughness should be specified only when it supports a functional need. A numerical roughness target can be appropriate for a sealing face, sliding interface, or paint-ready molded tool. For many additive manufacturing applications, a defined visual standard is more useful: as-printed, media-blasted, matte black dyed, satin painted, or machined. The appropriate level of detail depends on the risk of variation and the consequences of failure.
Understand the starting surface
Every manufacturing process has a baseline surface condition. Finishing can improve it, but it cannot erase all process constraints without trade-offs in cost, dimension, or mechanical performance.
HP Multi Jet Fusion and SLS parts in PA12 or PA11 typically have a fine, matte, granular surface after powder removal. Bead blasting can create a more consistent appearance and prepare the surface for dyeing or coating. These materials are well suited to functional enclosures, brackets, jigs, and low-volume end-use components, but fine text, thin snap features, and precision bores need attention before aggressive blasting or coating.
SLA offers high detail resolution and a comparatively smooth starting surface. It is often selected for presentation models, master patterns, and applications where fine geometry matters. However, the resin, post-cure condition, and intended exposure environment must be evaluated before specifying paint, plating, or prolonged outdoor use. A visually excellent surface is not automatically the correct engineering choice for a loaded component.
FDM surfaces reflect layer height and toolpath direction. Sanding, filling, and painting can substantially improve appearance, but labor increases quickly on complex geometry. If a smooth cosmetic result is mandatory across large quantities, injection molding or another process may provide better unit economics once volume justifies tooling.
Metal SLM parts in materials such as AlSi10Mg or SS316L require a different approach. Support removal, heat treatment, blasting, machining, polishing, passivation, and coating may all be considered. Internal channels and inaccessible surfaces are especially important: a finish that is straightforward on an external face may be impossible to apply or inspect inside a complex passage.
A guide to production-grade finishing by process
The most dependable finishing plans use the minimum number of operations needed to meet the requirement. Every added operation introduces handling, tolerance stack-up, inspection demand, and schedule risk.
Cleaning and support removal
Cleaning removes powder, uncured resin, oils, and processing residue that can compromise downstream treatments. It is foundational rather than optional. Poor cleaning can cause uneven dye uptake, coating adhesion failures, contamination of machined surfaces, and inconsistent laser marking.
Support removal must also be planned during design. On metal additive parts, support contact points may require machining or blending. On polymer parts, orientation can place support marks or less favorable surfaces away from cosmetic and sealing faces. Discussing orientation before production is often less expensive than correcting visible defects afterward.
Media blasting and surface smoothing
Media blasting is commonly used to remove residual powder, even out visual texture, and create a uniform matte finish. It is effective for many polymer and metal components, but it is not dimensionally neutral. Fine edges can soften, small text can lose definition, and tight bores may change slightly depending on media, pressure, exposure time, and masking.
For components with precision interfaces, protect critical dimensions through design allowance or post-process machining. Where a controlled smooth surface is required, machining is generally more predictable than relying on manual finishing. The decision depends on geometry: flat datum surfaces and accessible bores are suitable candidates, while complex freeform features may be better served by a controlled cosmetic process.
Dyeing, painting, and protective coatings
Dyeing is often an efficient option for suitable polymer powder-bed parts because the color becomes part of the near-surface material rather than a separate film. It can produce a consistent black or other approved color while retaining much of the part’s underlying texture. Dyeing does not hide deep scratches, porosity, or layer artifacts, so the pre-dye surface condition remains important.
Painting provides broader color matching and can create matte, satin, gloss, textured, or soft-touch appearances. It is appropriate when brand color, visual uniformity, or added surface protection is required. The trade-off is thickness. Paint can affect snap fits, threads, press fits, engraved markings, and mating surfaces. Mask these areas or design appropriate clearance into the CAD model.
For metal components, anodizing, passivation, powder coating, plating, or other coatings may be selected based on corrosion resistance, conductivity, wear, appearance, and operating environment. These requirements can conflict. For example, a coating that improves corrosion resistance may alter electrical contact behavior, while a thick powder coat can interfere with a close mechanical fit. State the priority clearly rather than assuming one treatment solves every requirement.
Machining, tapping, and inserts
Production-grade parts often combine additive manufacturing with subtractive finishing. CNC machining establishes precise datums, flatness, bore size, and threaded features. Threaded inserts can improve durability in polymer enclosures that will be assembled repeatedly. Tapping or machining after printing is preferable when thread accuracy and engagement are critical.
Designers should identify these features in the CAD file and drawing, including thread standards, depth, tolerances, and datum relationships. “Machine as needed” is not an adequate production instruction. It leaves too much room for interpretation and makes repeatable inspection harder.
Control dimensions through the finish sequence
Finishing changes surfaces. That simple fact should guide tolerance planning. A blasted, dyed, and painted exterior may be entirely acceptable for a hand-held enclosure, while the same sequence on an interference fit can cause a failure. Specify whether dimensions apply before or after finishing and identify any surfaces that must remain free of coating.
Use machining allowances where precision is required. For additive parts, this means intentionally leaving material on a surface that will be machined to final size. For coated parts, it may mean adding clearance to holes, slots, and mating features. The correct allowance depends on material, process, geometry, coating system, and required tolerance, so it should be confirmed during manufacturability review rather than copied from a prior project.
Part orientation matters as well. Build direction can affect surface texture, support locations, mechanical anisotropy, and the accessibility of finishing tools. A production plan should define orientation when appearance or critical interfaces make it consequential. Otherwise, a later batch may be technically compliant but visually different from the first article.
Build inspection into the finishing plan
A good finish is measurable. Inspection criteria should match the requirement and be practical for the production quantity. For critical dimensions, use calibrated measurement methods and defined sampling requirements. For cosmetic surfaces, establish an approved reference standard under controlled lighting. For coatings, consider adhesion, thickness, color, coverage, and cure verification where applicable.
First-article approval is particularly valuable when combining several processes. It confirms not only the part geometry but also the entire route: printing, cleaning, blasting, machining, coating, masking, marking, and final packaging. Once approved, the process route and acceptance criteria should be documented so later orders do not depend on memory or individual judgment.
ISO 9001:2015 quality systems support this discipline by connecting production instructions, material traceability, inspection records, and corrective action. For teams using an external manufacturing partner, this documentation reduces the risk that a revised order receives a different interpretation of “standard finish.”
Send a complete production request
A CAD file alone rarely communicates finishing intent. Include the material, manufacturing process if already selected, quantity, color or coating requirement, cosmetic surface designation, critical dimensions, thread and insert details, masking requirements, and inspection expectations. A marked-up drawing or reference sample is useful when appearance matters.
Additive3D Asia can help evaluate this information across polymer and metal additive processes, CNC machining, molding, and post-processing. The strongest production outcome comes from selecting the process and finish together, not treating finishing as a final cosmetic add-on.
When a part must perform repeatedly in the field, its surface is part of the engineering. Define the requirement early, protect critical features through the process route, and approve a finish standard that can be reproduced order after order.