

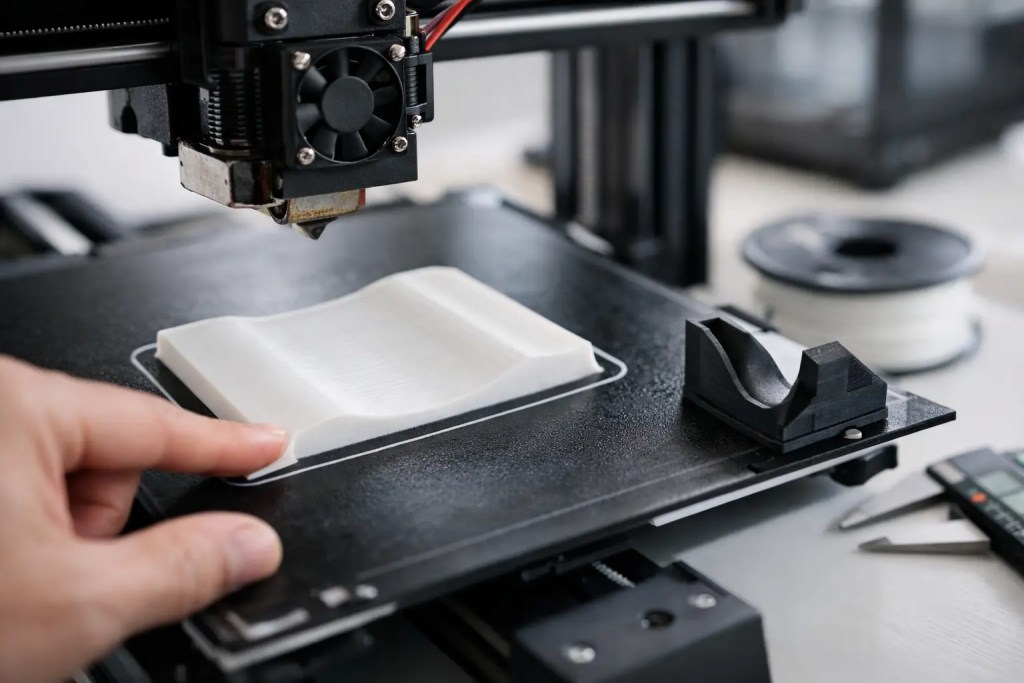
A prototype that lifts off the build plate by 2 mm is not a minor cosmetic issue. It changes hole positions, distorts mating surfaces, and turns a fit check into a false result. If you are evaluating functional geometry, knowing how to reduce warping in FDM prototype prints is less about appearance and more about protecting engineering decisions.
Warping in FDM is a thermal management problem. As extruded plastic cools, it contracts. If one area contracts faster or more aggressively than another, internal stress builds. Once that stress exceeds bed adhesion or the part’s own stiffness, corners lift, walls pull inward, and dimensions drift. That is why the same CAD model can print cleanly in one material and fail repeatedly in another, or succeed on one machine setup and warp on the next.
For prototype work, the practical goal is not to eliminate all shrink-related behavior. The goal is to control it enough that the part remains dimensionally useful, repeatable, and close to its intended function. That usually requires attention to part design, build setup, material choice, and chamber conditions at the same time.
Why FDM warping happens in prototypes
The highest stress usually appears in the first several layers. They are fixed to the bed while upper layers continue to cool and shrink, effectively pulling against that anchored footprint. Large flat bases are especially vulnerable because they create a long lever arm across the bed. Sharp corners worsen the problem because stress concentrates there instead of distributing evenly.
Prototype geometry often makes this harder, not easier. Engineers tend to print housings, mounting brackets, covers, and test fixtures with broad contact faces and strict flatness requirements. Those are exactly the shapes that expose uneven cooling. A small cosmetic model may tolerate slight edge lift. A prototype intended for assembly verification usually will not.
Material behavior also matters. ABS, ASA, nylon, and some filled compounds generally warp more than PLA because they contract more as they cool. That does not make them bad choices. It simply means the process window is tighter, and bed temperature, enclosure control, and design compensation become more important.
How to reduce warping in FDM prototype prints at the design stage
The cheapest fix is usually in CAD. If a part is likely to warp, redesigning the base geometry often delivers better results than trying to force a marginal print through machine settings alone.
Rounded corners help because they reduce stress concentration at the edges. If a rectangular footprint is required, even a modest fillet can improve print stability. Uniform wall thickness is also valuable. Thick-to-thin transitions cool at different rates, which increases internal stress. Where possible, keep sections consistent or use gradual transitions instead of abrupt mass changes.
Large solid bases are another common source of trouble. If the prototype does not require a fully solid slab, reduce mass with ribs, cutouts, or a shell structure. Less material means less total shrink force. Ribs can preserve stiffness without creating the same pull across the bed that a thick plate creates.
Part orientation is equally important. Printing the largest flat face on the bed may seem intuitive, but it is not always the most stable option. If that face creates a broad high-stress footprint, rotating the part to reduce contact area can improve results, even if support use increases. The trade-off is straightforward – more support and post-processing in exchange for lower warping risk and better dimensional control in critical zones.
For prototypes with strict interface features, split-body design can also make sense. Printing one large housing as two smaller sections may produce more accurate components than forcing a single-piece print that warps and requires rework. This is especially relevant when the prototype is for fit validation rather than final cosmetic review.
Bed adhesion and first-layer control
If the first layer is inconsistent, the rest of the print starts from a weak foundation. Bed leveling, nozzle height, and surface condition should be treated as process controls, not casual setup checks.
A first layer with too much nozzle gap will not achieve enough contact area to resist shrink stress. Too little gap can over-compress material, reduce flow consistency, and create its own distortion. The right setting depends on nozzle size, layer height, and material, but the principle is constant: the first layer needs uniform, repeatable contact across the full footprint.
Build surface selection matters as well. PEI, textured sheets, engineering adhesives, and material-specific adhesion aids can all improve hold-down force. There is no universal best surface because different polymers respond differently. PLA may hold well on a surface that is inadequate for ABS. Nylon often needs a more deliberate adhesion strategy than either.
Brims are often the most efficient first response for prototype parts with exposed corners. They increase the bonded perimeter without permanently altering the model. Rafts can work too, but they add material, increase print time, and may reduce bottom-surface quality. For a prototype where underside flatness matters, a brim is often the cleaner option.
Cleanliness is easy to overlook. Skin oils, leftover adhesive, or dust can reduce adhesion enough to trigger corner lift, especially on larger footprints. In production environments, this is why standardized cleaning intervals and setup procedures matter. Small inconsistencies at the plate level become large inconsistencies in part outcome.
Temperature control is the real lever
Most warping problems are not solved by higher bed temperature alone. They are solved by reducing the temperature gradient between newly extruded layers, the lower body of the part, and the surrounding air.
That is where enclosed printing becomes critical for engineering polymers. Drafts from open doors, HVAC airflow, or uneven cooling across the bed can create localized shrink differences. An enclosure stabilizes the thermal environment so the part cools more gradually and more uniformly. For ABS and ASA prototypes, this is often the difference between repeatable output and repeated failure.
Nozzle temperature plays a role too. If extrusion temperature is too low, layer bonding may suffer and stress can concentrate between layers. If it is too high, material may stay soft too long or exaggerate thermal contraction effects depending on the polymer. The correct setting is not just about flow. It is about balancing bond strength and cooling behavior.
Cooling fan settings deserve the same discipline. Aggressive part cooling can help detail retention in PLA, but it often works against warp control in higher-shrink materials. Lower fan speeds or delayed fan activation usually improve stability for ABS, ASA, and nylon. The trade-off is that overhang quality may decline, so settings should reflect the prototype’s actual priorities.
Material choice affects warping more than many teams expect
If the application allows it, selecting a lower-warp material can shorten development cycles immediately. PLA is easy to print and dimensionally stable for many concept models, but it may not represent the thermal or mechanical behavior needed for functional testing. PETG can offer a middle ground with less warping than ABS and better toughness than PLA, though it introduces its own tuning challenges.
When the prototype must simulate end-use conditions more closely, engineering materials are often the right call even if they are harder to process. In those cases, print strategy needs to match the material rather than fight it. Dry nylon thoroughly, use an enclosed machine, and avoid broad unsupported bases. For ABS or ASA, prioritize chamber stability and controlled cooling over raw print speed.
Filled materials can help or hurt depending on the formulation. Some fiber-filled filaments reduce shrink effects and improve stiffness, while others create nozzle wear or anisotropic behavior that complicates validation. For any prototype intended to inform tooling, assembly, or mechanical decisions, the material should be chosen for both application relevance and print stability.
Process settings that improve repeatability
Slower is not always better, but excessive print speed can make thermal behavior less consistent, particularly on larger parts. Moderate speeds usually improve layer placement and give the thermal system time to remain stable. That matters more on industrial prototypes than squeezing out a few minutes of machine time.
Layer height also affects stress distribution. Very thick layers can hold more heat and sometimes worsen uneven cooling, while very fine layers extend print time and expose the part to more cumulative thermal cycling. A mid-range layer height is often the most stable choice for functional prototypes.
Infill strategy matters too. Dense infill increases internal shrink force. If the part does not require it, reducing infill percentage or using a less stress-intensive pattern can lower warping risk. More infill is not automatically more accurate. It often just creates more material trying to contract.
For teams that need repeatable prototype output, this is where documented process windows matter. Machine calibration, material storage, bed prep, and approved parameter sets should be treated as controlled variables. That is one reason production-oriented providers such as Additive3D Asia build around standardized workflows rather than ad hoc machine tuning.
When to change process, not just settings
Some prototypes are poor candidates for FDM no matter how carefully they are tuned. If the part requires broad flatness, tight isotropic tolerances, or low residual stress across a large footprint, another process may be more efficient. SLS and MJF, for example, often provide better geometric stability for functional polymer prototypes because they do not rely on anchoring a molten bead to a cooler plate in the same way.
That does not diminish FDM. It remains a strong option for fast, economical validation, especially for brackets, enclosures, and early functional parts. But process selection should follow part requirements. If warping is consuming multiple iterations, the issue may be the manufacturing method, not operator skill.
The fastest path to a reliable prototype is usually a controlled combination of design adjustment, thermal stability, and material-process fit. Treat warping as a measurable production variable, not a one-off print defect, and your prototype results become far more dependable.